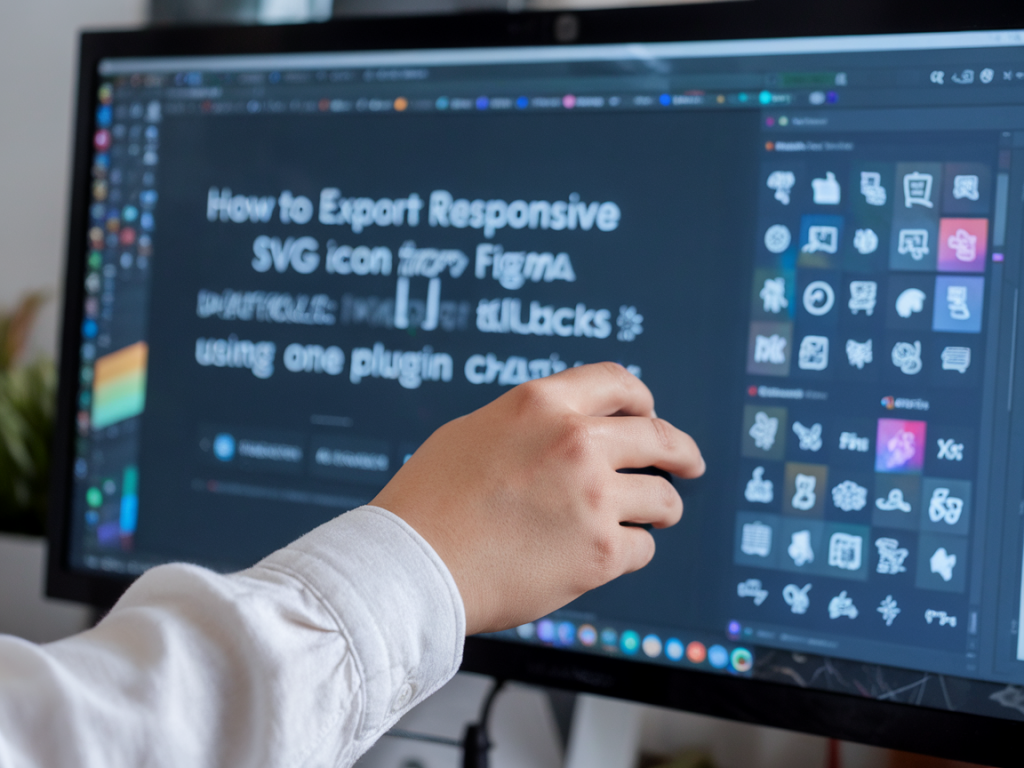
Getting a clean, responsive SVG icon set out of Figma without any raster fallbacks is one of those small victories that saves time and preserves quality across web and product builds. I’ve iterated on a few workflows and landed on a compact plugin chain that lets me prepare, export, and optimize SVG icons entirely from Figma — keeping everything vector, preserving viewBox, and removing width/height so icons scale responsively in CSS.
Why this matters
When an SVG contains embedded bitmaps or Figma-export defaults that hardcode width/height, you lose the benefits of vector graphics: crispness at any size, tiny file size, and easy styling with CSS. Design teams and developers often end up re-exporting or cleaning icons later in a separate pipeline. I prefer to ship icons from Figma already optimized for the web, so teams can drop them in without extra steps.
Overview of the plugin chain I use
The goal is simple: standardize names and frames, convert any non-vector elements into pure vectors, export SVGs, and run an optimization pass that removes width/height attributes while keeping a correct viewBox. The chain I rely on in Figma is:
| Step | Plugin | Purpose |
|---|---|---|
| 1 | Rename It | Normalize icon names for consistent export (optional but saves headaches) |
| 2 | Outline Stroke / Vectorize | Convert strokes and boolean operations to pure vector paths |
| 3 | Export Icons (Batch SVG) | Export each frame/artboard as an SVG file |
| 4 | SVGO Compressor (plugin) | Run SVGO optimizations inside Figma and remove width/height while keeping viewBox |
Note: exact plugin names in the community may vary slightly (Figma’s plugin ecosystem changes often). The important part is the function: name, vectorize, batch export, then run SVGO-style optimization. If a plugin with the same exact name isn’t available, look for equivalents that expose the same capabilities — e.g., any batch SVG export plugin + an in-Figma SVGO wrapper or a quick post-export SVGO CLI step.
Preparation inside Figma
Before hitting plugins, get the icons into a consistent state:
Vectorization: strokes, masks, and booleans
Figma can leave strokes as strokes, which might not render consistently across tools. I always convert strokes to paths and expand boolean shapes when needed.
Consistent naming for batch export
A reliable naming convention is a small productivity win. I use a pattern that indicates semantic name and pixel grid size: icon-name/24.svg. The Rename It plugin (or similar) helps if you have dozens or hundreds of icons to normalize.
Batch SVG export from Figma
Once your frames are named and vectorized, select them all and use your preferred batch export plugin (or Figma’s native export) to produce SVG files. Key export settings:
Run SVGO-style optimizations (inside Figma or immediately after)
Here’s where many workflows diverge. You can download files and run SVGO locally, or use an in-Figma SVGO plugin to avoid leaving the app. The massive wins here are:
If you use an in-Figma SVGO plugin (many community plugins wrap SVGO), configure it with these basic options:
Important: removeDimensions is the key to make SVGs responsive. It keeps the viewBox and eliminates fixed width/height attributes so your icons scale naturally with CSS width/height or font-size when used inline or as background images.
Troubleshooting common edge cases
Here are issues I’ve run into and how I handle them.
Verification and developer handoff
After export + optimization, I always verify a few things before handing the set to developers:
Small automation table
Here’s a compact checklist I follow each time I create a new icon set:
| Task | Why | Plugin/Action |
|---|---|---|
| Frame per icon | Consistent export unit | Figma frames |
| Normalize names | Batch export mapping | Rename It |
| Outline strokes, flatten booleans | Predictable SVG paths | Outline Stroke / Flatten |
| Export SVG | Source files | Batch SVG export |
| Optimize (removeDimensions) | Responsive, minimal SVG | SVGO plugin or SVGO CLI |
Extra tips
I find this approach keeps the design side in control of icon quality while giving devs ready-to-use assets. It reduces back-and-forth and ensures icons scale cleanly across breakpoints and UI contexts. If you want, I can share a sample SVGO config you can paste into the plugin or CLI to match the settings I described.